:format(webp))
Mastering React Testing with Vitest and React Testing Library
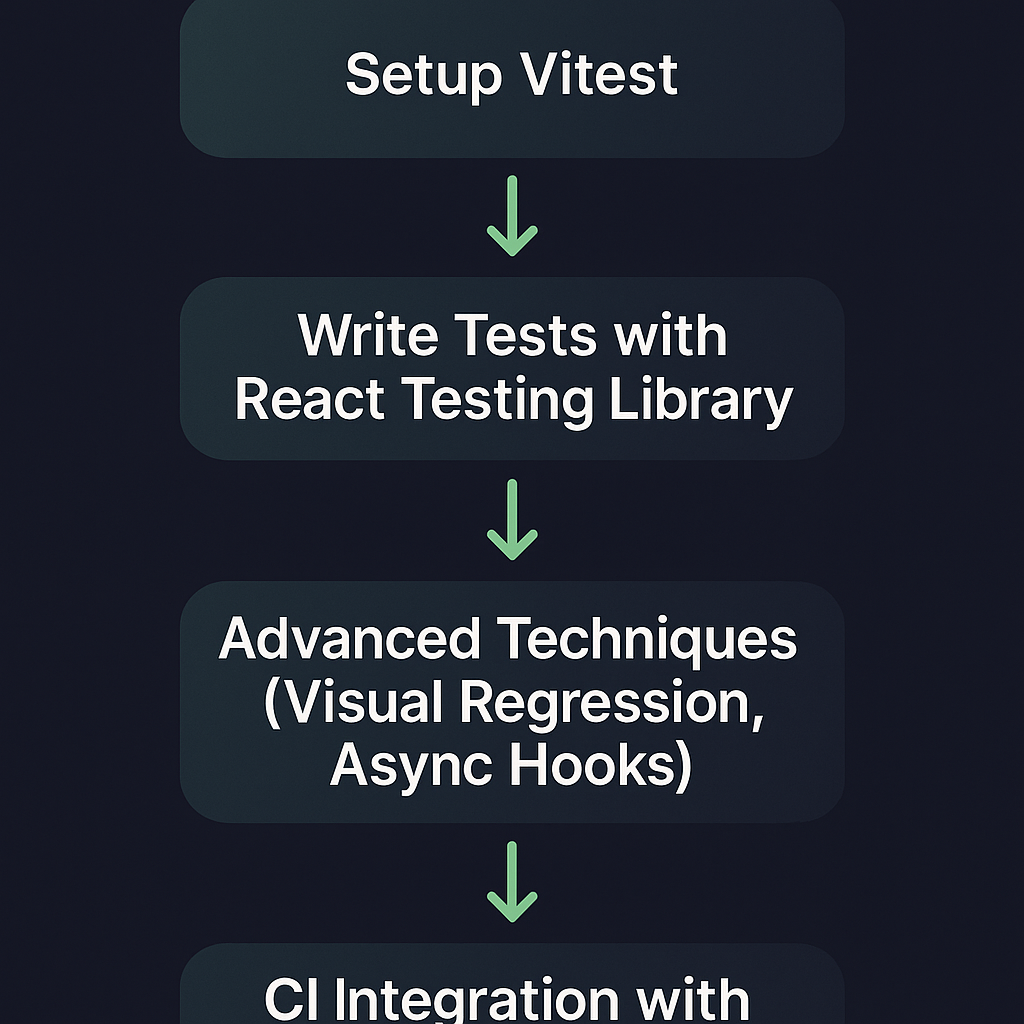
When you finish this guide, you’ll know how to set up Vitest for React, write robust tests with React Testing Library, and apply advanced techniques like visual regression, async-hook testing, and CI-integrated coverage reporting. Each step links to sources so you can verify details and dive deeper.
Why Choose Vitest for React Testing
Vitest shines in React projects because it’s built on Vite’s blazing-fast bundler and leverages native ESM. Key advantages include:
Speed: Runs tests in parallel worker threads, often faster than Jest’s test runner .
First-class ESM support: No need for extra transforms or flags.
Built-in coverage: Generates reports without extra setup.
Watch mode: Instant feedback on code changes.
Jest compatibility: Supports common Jest globals like `describe` and `it` (see the Vitest vs Jest comparison ).
Feature | Vitest | Jest |
|---|---|---|
Speed | Fast (parallel threads) | Slower (single thread) |
ESM Support | Yes | Needs transforms |
Built-in Coverage | Built-in | Requires plugin |
Watch Mode | Yes | Yes (slower) |
Jest Compatibility | Yes | N/A |
Setting Up React with Vitest
Initial Project Setup with Vite
Create a new React app:
npm create vite@latest my-app -- --template react cd my-appInstall dependencies:
npm installInstalling and Configuring Vitest
Add Vitest and React Testing Library:
npm install -D vitest @testing-library/react @testing-library/jest-domUpdate `vite.config.js`:
import { defineConfig } from 'vite'

import react from '@vitejs/plugin-react'

export default defineConfig({

  plugins: [react()],

  test: {

    globals: true,

    environment: 'jsdom',

    setupFiles: './src/setupTests.js',

  },

})
Create `src/setupTests.js` to include jest-dom matchers:
import '@testing-library/jest-dom'
Getting Started with React Testing Library
React Testing Library focuses on testing components the way users interact with them, promoting accessibility-centric queries by text, role, or label. After installing ( `@testing-library/react` ), you can render components:
import { render, screen } from '@testing-library/react'

import App from './App'


test('renders welcome message', () => {

render(<App />)

expect(screen.getByText(/welcome/i)).toBeInTheDocument()

})
Writing Your First Test
Import utilities: `render` and `screen`.
Render component: Call `render(<MyComponent />)`.
Assert UI: Use queries like `getByRole` or `findByText`.
Example:
import userEvent from '@testing-library/user-event'


test('button click updates count', async () => {

  render(<Counter />)

  const button = screen.getByRole('button', { name: /increment/i })

  await userEvent.click(button)

  expect(screen.getByText('Count: 1')).toBeInTheDocument()

})
Ensuring Maintainable Tests
Group related tests with `describe`.
Clean up after each test (Vitest auto-cleans the DOM).
Name tests to describe user behavior, not implementation.
Avoid long setup; use helper functions for repeated logic.
Advanced Testing Techniques
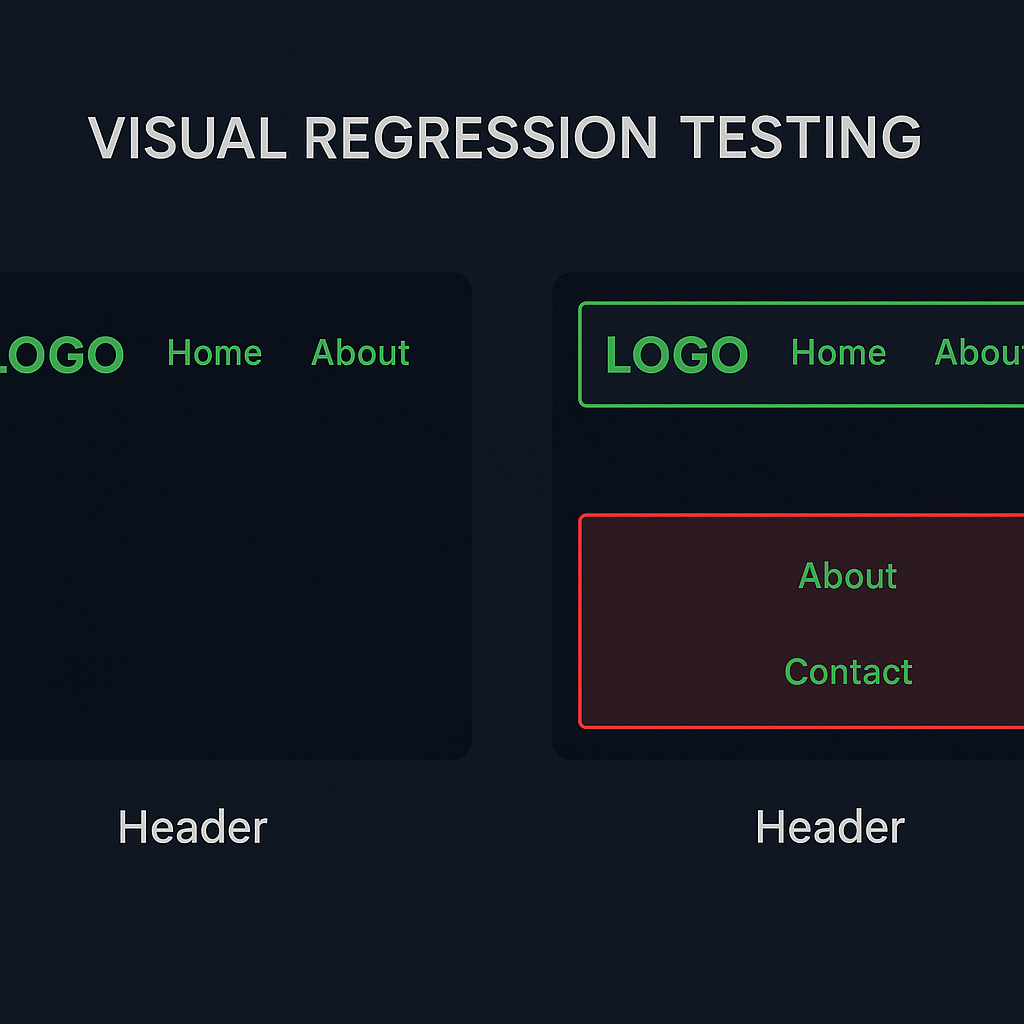
Visual Regression Testing with vitest-preview
Visual tests catch unintended style or layout shifts. Integrate the vitest-preview toolkit :
Install:
npm install -D vitest-previewIn your test:
import { render } from '@testing-library/react'

import { toMatchImageSnapshot } from 'vitest-preview'

expect.extend({ toMatchImageSnapshot })

test('Header matches previous snapshot', async () => {

  const { container } = render(<Header />)

  expect(container).toMatchImageSnapshot()

})
Testing Asynchronous Hooks and Effects
Components using `useEffect` with async calls need `findBy` queries or `waitFor`:
`import { render, waitFor, screen } from '@testing-library/react'


test('loads and displays user data', async () => {

  render(<UserProfile userId="123" />)

  await waitFor(() => expect(screen.getByText(/username:/i)).toBeInTheDocument())

})
For testing custom hooks in isolation, leverage the @testing-library/react-hooks package to render and assert hook behavior outside of a component.
Parallel and Isolated Test Execution
Vitest runs each test file in its own worker, preventing shared global state. To avoid race conditions:
Mock global APIs per test using `vi.fn()` or `vi.spyOn()`.
Reset timers with `vi.useFakeTimers()` and `vi.clearAllTimers()`.
Use unique test data or clear in-memory stores between tests.
Advanced Mocking Techniques
Network requests:
vi.stubGlobal('fetch', vi.fn(() => Promise.resolve({ json: () => Promise.resolve({}) })))Timers:
vi.useFakeTimers()

// advance timers

vi.advanceTimersByTime(500)
Context providers: Wrap render in a custom provider:
const wrapper = ({ children }) => <AuthProvider value={mockAuth}>{children}</AuthProvider>

render(<Dashboard />, { wrapper })
Integrating Code Coverage into Your CI Workflow
Enable coverage in `vite.config.js`:
test: {

  coverage: {

    reporter: ['text', 'lcov'],

    exclude: ['node_modules/'],

  },

},
In GitHub Actions (`.github/workflows/test.yml`):
- name: Run tests

  run: npm test -- --coverage

- name: Upload coverage to Codecov

  uses: codecov/codecov-action@v3

  with:

    file: ./coverage/lcov.info
Popular CI systems (GitHub Actions, GitLab CI, CircleCI) support this pattern, enabling you to enforce coverage thresholds and surface reports in pull requests. For quickstart instructions on integrating with Codecov, see the Codecov documentation .
CI System | Example Coverage Step | Upload to Codecov Action |
|---|---|---|
GitHub Actions | run: npm test -- --coverage | uses: codecov/codecov-action@v3 |
GitLab CI | script: npm test -- --coverage | bash <(curl -s https://codecov.io/bash) |
CircleCI | run: npm test -- --coverage | run: bash <(curl -s https://codecov.io/bash) |
The Finishing Touch
You’ve set up a React project with Vitest, tackled basic and complex tests, and integrated coverage reports into CI. These practices ensure you spot regressions early, keep tests reliable, and maintain high code quality as your app grows. Now you’re ready to ship features with confidence—happy testing!
:format(webp))
:format(webp))
:format(webp))